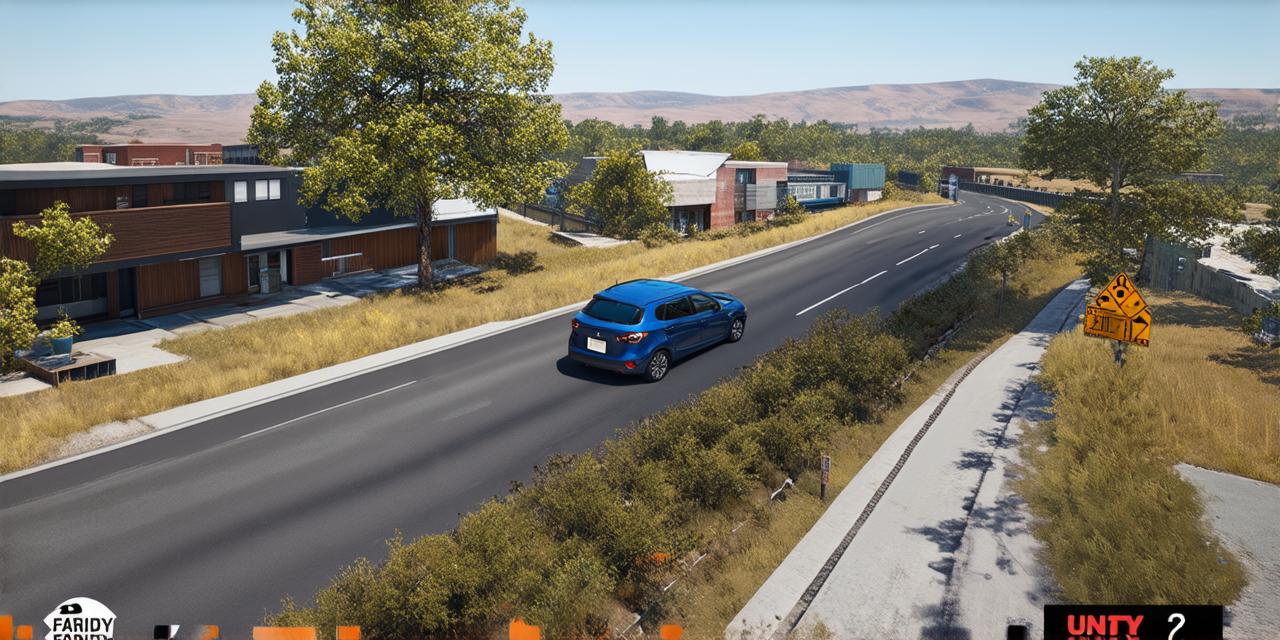
Are you tired of dealing with complicated and time-consuming render pipelines in Unity 3D? Look no further! The Universal Render Pipeline (URP) is the latest and greatest solution to all your rendering woes. In this guide, we will explore everything you need to know about URP and how to use it effectively in your Unity projects.

What is URP?
The Universal Render Pipeline (URP) is a render pipeline that is designed to work with all types of games and applications in Unity 3D. It was created by the team at Unity Technologies, and it has quickly become one of the most popular rendering solutions in the Unity community. With URP, you can achieve high-quality graphics on a wide range of devices, from smartphones to high-end gaming consoles.
Key Features of URP
URP has several key features that make it stand out from other render pipelines in Unity 3D:
- Universal Compatibility: As the name suggests, URP is designed to work with all types of games and applications in Unity 3D. This means you can use it on any device, from smartphones to high-end gaming consoles.
- Easy-to-Use Interface: The URP has a user-friendly interface that makes it easy for even beginners to set up and configure. You can customize the pipeline to suit your needs, without needing to write any code.
- High Performance: URP is optimized for performance, which means you can achieve high frame rates on even low-end devices. This is especially important for mobile games, where every frame counts.
- Flexibility: URP is highly flexible, which means you can use it to create a wide range of visual styles and effects. Whether you want a realistic, cartoony, or stylized look, URP has the tools you need to achieve it.
- Post-Processing Effects: URP includes a powerful post-processing stack that allows you to add a variety of effects to your scenes, such as depth of field, motion blur, and color grading. This gives you even more control over the look and feel of your game or application.
How to Set Up URP
Setting up URP in Unity 3D is incredibly easy. Here’s a step-by-step guide on how to do it:
- Open Your Project: Open your Unity project in the editor.
- Create a New Render Pipeline: Go to Window > Rendering > Render Pipelines, and then click on “Create Render Pipeline”. Select “Universal Render Pipeline” from the dropdown menu, and then click “Next”.
- Configure the Pipeline: Follow the prompts to configure the pipeline to your needs. You can customize things like the resolution, aspect ratio, and post-processing effects. Once you’re done, click “Create Pipeline”.
- Apply the Pipeline: In your scene, go to the Project window, and then find the asset that contains the URP you just created. Drag and drop it onto the Camera GameObject in your scene. This will apply the pipeline to your camera.
- Test Your Render Settings: Build a test version of your game or application to see how the render settings look on different devices. You can make adjustments to the pipeline as needed to optimize performance and visual quality.
Case Study: Using URP in a Mobile Game
One great example of URP in action is the mobile game “Pokémon Go”. Pokémon Go was developed by Niantic, a leading mobile gaming company, and it uses URP to achieve high-quality graphics on a wide range of devices. Here’s how they did it:
1.


